As of now building a gaming pc by using a CPU and graphics card is easy to do. Here we are going to learn how to build a gaming PC with the best tools and pairing parts. When it comes to gaming pc we have to be good at device parts like updating, it may cost higher for good production. The components we choose should be well-specified for future use. Choosing 4k gaming should be good at gaming monitoring to make the most out of your GPU. Be selective in choosing high-powered components with super-powered gaming panels.
Here we are going to know about how to make gaming PC methods with a good explanation and more about the components used for the process. It should be cost-effective for the betterment and highly productive to use.
Motherboard:
First of all, the motherboard is the main part of gaming PC hardware for connecting other parts to function. It dictates the body dimension and the size of the PC. And also determines other specifications of computer hardware to use. It must be good at the performance and the kind of storage. Calculate the Size of the drive and the type of interface.
INSTALL THE CPU
Do not touch the gold pins on the bottom of the CPU as you remove it from the Package. Firmly press your CPU into the motherboard while adhering to the manufacturer’s instructions. If mounting a heatsink, use thermal paste in a pea-sized amount. The four screws hold the heatsink over the CPU in place.

The CPU you choose for your project may be the most crucial element. The CPU, which manages each data transaction inside the PC, is powered by memory and storage. Pay attention to gigahertz (GHz) while choosing a CPU to install; the higher the GHz, the faster the processor. This is crucial if you’re overclocking because you’ll use more GHz as a result. The method of overclocking involves increasing the CPU’s clock cycles to handle more data operations than the manufacturer has approved. Finding the right CPU heatsink is now even more crucial to preventing system damage from the increased temperatures.
Installing RAM
When creating a PC, RAM is the hardware that is the simplest to install. Find the motherboard’s memory slots. Avoid contacting the gold pins by holding your memory modules on the side. Unless your memory has a heat spreader, keep your hands away from the module’s chips. Align the module’s notches with the slot’s ridge, then firmly press the module in until you hear a clicking sound. Be aware that installing a module completely requires roughly 30 pounds of pressure as you press.
Your CPU and graphics processing unit receive the resources they require to function from memory, also known as RAM. More memory in the form of gigabytes means more resources that can be used to speed up systems, make them more responsive, and provide higher framerates. One of the quickest, simplest, and most economical ways to boost the performance of any gaming system is by adding memory. Whatever your spending limit, maxing out the RAM is a requirement when creating a gaming PC. Check how much RAM you’ll need to achieve your performance goals if you don’t already have it.
Install the motherboard in the case:
Insert the I/O shield into the case’s rectangular aperture. As soon as the ports pass through the I/O shield, put the motherboard into the casing. After installation, secure the motherboard into the casing using the provided screws. Avoid overtightening as this may cause motherboard cracking.
The case has an impact on both the appearance and the performance of your rig. It is possible that the system temperatures will be greater than usual if you plan to overclock. Therefore, a case with good ventilation and space for enough case fans will aid in extending the lifespan of the interior parts.
Install the GPU:
Your GPU should be slid into the slot, pressed until it clicks, and then fastened with any provided screws.
When you want more output from your computer, you must support it with the tools it requires to meet those demands. More memory is needed to process all the minute details that pop off the screen when making ultra-sharp graphics; more GBs of RAM equate to more graphical power.
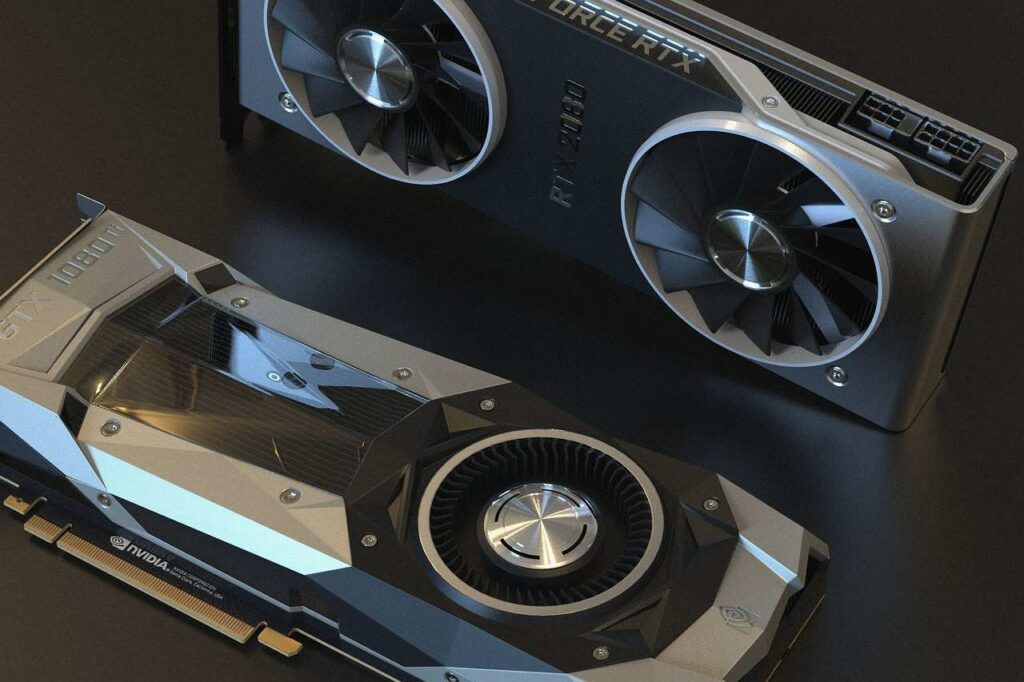
The unusually wide price range of GPUs could significantly increase your build’s costs. If you want the ultra-sharp images that an expensive GPU provides, make sure to give it the tools it needs to succeed: a strong processor and lots of RAM.
Install the SSD:
Installing an SSD needs first connecting it to the storage interface (whether it’s an M.2, mSATA, or 2.5-inch SSD), and then inserting it into the drive bay (if it’s a 2.5-inch SSD).
Storage Drives explained:
The two storage options for gaming PCs are hard disc drives (HDDs) and solid-state drives (SSD). HDDs read and write data using rotating platters and tiny mechanical components. HDDs typically offer higher storage space (in GB), however, SSD capacities are increasing as NAND flash technology develops.
SSDs use electrical cells to receive and deliver data, making them up to 90% more energy-efficient and enabling faster booting, saving, and file transfer speeds. SSDs are more robust due to the absence of tiny moving bits.
Install the Fan:
Utilize any mounting brackets that came with your cooling fan to install it. When the cam lever contacts with the mounting bracket, make sure the CPU is pressed down steadily on CPU fans. Connect the motherboard’s fans.
When constructing a gaming computer, airflow is an important factor. If your setup is designed for performance, more power consumption may result in higher computer temperatures, and this hot air needs to be removed from the device. Many gamers install two case fans: one to transfer warm air out of the PC and the other to introduce cool air. Your system can also be cooled in other ways, such as by adding a CPU fan, memory cooling fan, or even a water cooling kit.
Install the power supply:
Remove the holding bracket for the power supply. Once the power supply is mounted to the bracket, move it into the case until it is flush with the casing.
The most crucial step in choosing a power source is to make sure that it offers the energy your equipment requires to function. This is particularly important if you’re creating a high-performance workhorse, which means you’ll require a reliable power source to keep everything running. But keep in mind that higher voltages produce greater heat. Your system cooling or internal airflow may need to be adjusted.
Attach the appropriate cables:
As directed by the manufacturer, connect all USB, audio, GPU, CPU, drives, power supply, heat sink, and cooling cables.
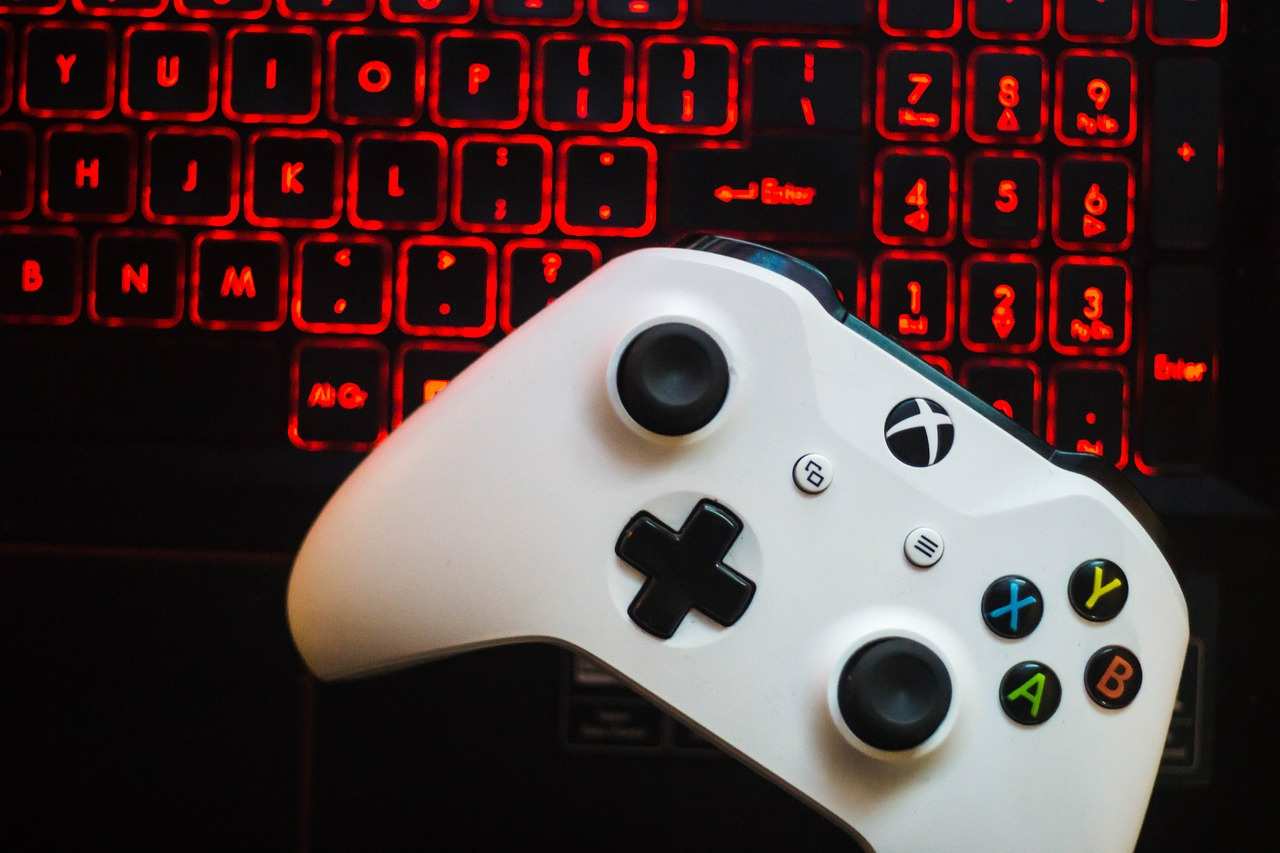
Plug in peripherals:
Connect your display, keyboard, mouse, headset, and keyboard.
Purchase a monitor that can create the desired pictures if you have a high-quality graphics card and supporting hardware. A gaming mouse, keyboard, and headset improve your gameplay by improving the accuracy of your dexterity while gaming. One of the numerous reasons why so many gamers choose to play on a PC is the availability of gaming peripherals.
Flip the switch:
Once your system is put together, it’s time to turn it on! Hopefully, everything will start to operate.
Time to Boot up:
A screen where you can access the machine BIOS will display if everything went according to plan. If you have an OS on a disc or flash drive, insert it into the proper disc, start the computer, and the OS will be installed.
Operating System:
Although Microsoft® Windows® is by far the most popular OS among gamers, there are other options available. Although Windows 10 is excellent for gaming, if your game doesn’t require a Windows platform, you can pick another one. When choosing an operating system, keep in mind that you will probably use your computer—including the OS—for other commonplace jobs.
Conclusion:
In the end, we came to know about gaming pc parts and accessories for connecting.